
Shape your own timber kiteboard at home
In short
You can build a genuine, ridable kiteboard at home from Paulownia timber without bending a single plank or owning a workshop full of clamps.
The trick is laminating rocker into the blank by profiling each plank first, then shaping the deck, concave and rails from a solid glued core.
What you'll learn here
How to choose the timber, build rocker into a glued blank, shape the board, and seal it so it lasts more than one season.
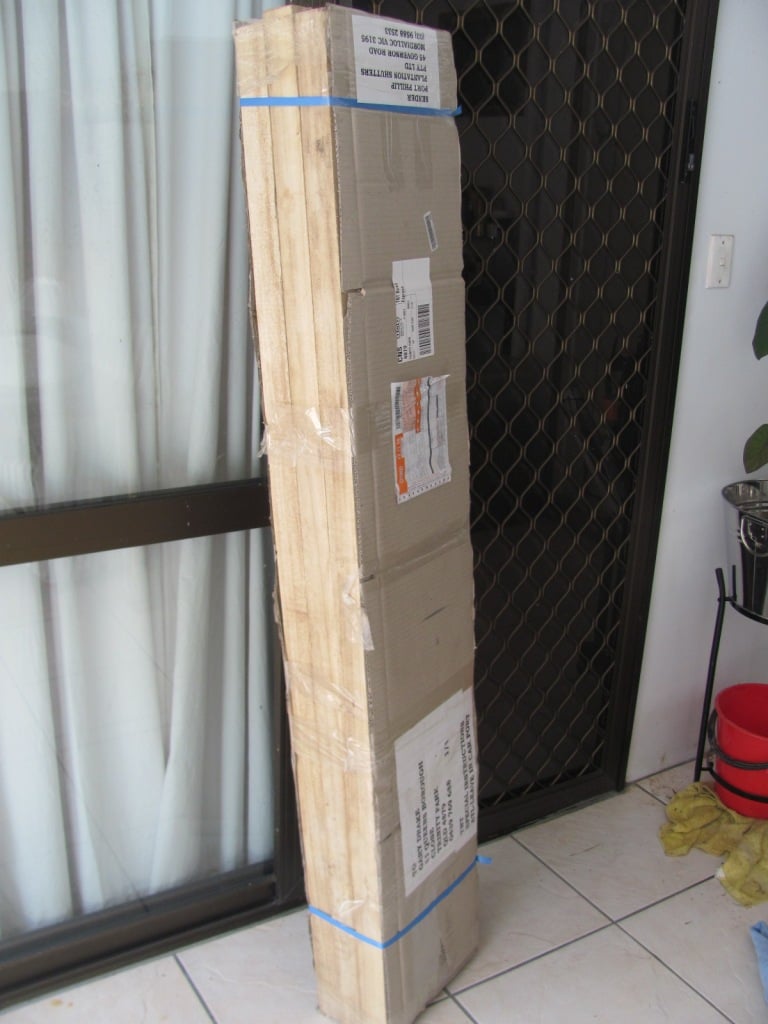
Paulownia is the timber that makes this project realistic. It is light, stiff for its weight and forgiving to sand, which is why so many wooden surfboards and skimboards use it.
A skim-style strapless deck is the easiest first build, since it is flat on top and asks less of your shaping than a concave-deck twin tip.
Cheap plywood boards do work, but they ride heavy and doughy with slow rebound, so the extra effort of a solid timber core pays off in feel.
Building rocker without bending timber
Rocker is the curve that stops the nose diving, and you can build it in without steaming or bending.
Start with around six planks near 50 by 150 by 1600 mm, then rip most of them lengthwise to give you ten narrower strips to glue side by side.
On each strip, draw the side profile of the board: roughly parallel at about 35 mm thick, then sweeping up at the nose to give around 75 mm of nose rocker.
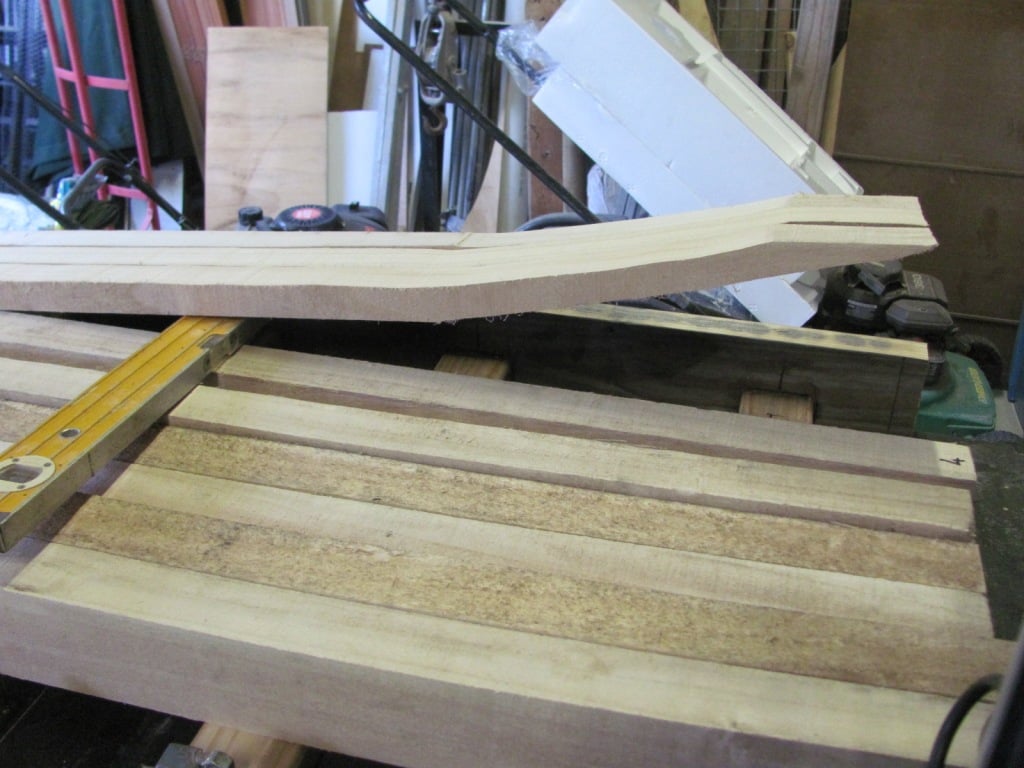
Cut that profile on every strip with a scroll saw or jigsaw, and the curved edges become the rocker once the strips are glued edge to edge.
You are effectively drawing the rocker line and letting the glue-up hold it. No jig full of expensive sash clamps required.
Gluing the blank
Use a proper marine two-part epoxy, not hardware store PVA. A 2 to 1 epoxy sold for boat building bonds Paulownia well and stays waterproof.
You can build a simple gluing jig from box section and battens rather than buying a wall of clamps, which is where most first-timers get sticker shock.
Cover the jig battens in packing tape first, because epoxy squeeze-out will otherwise weld your fresh blank to the frame.
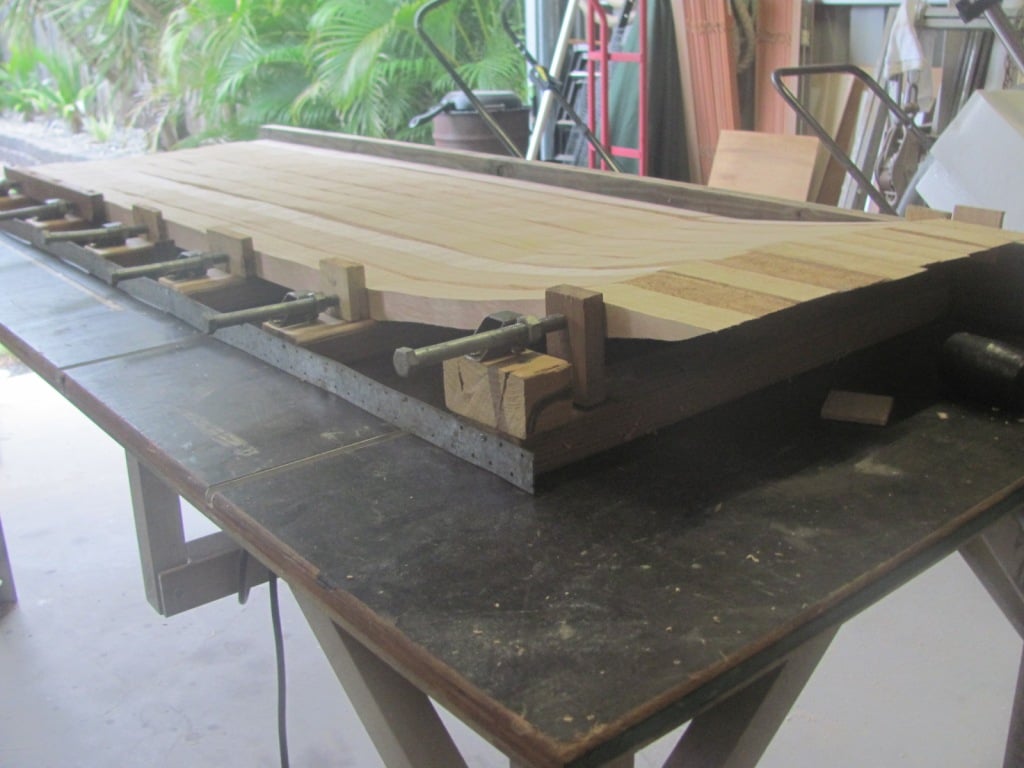
Clamp the strips together and leave the blank a full day to cure before you touch it, so the bond reaches strength.
"You never get back the cost of your labour, but two unique boards you shaped yourself is still good value for the money."
Shaping the outline and deck
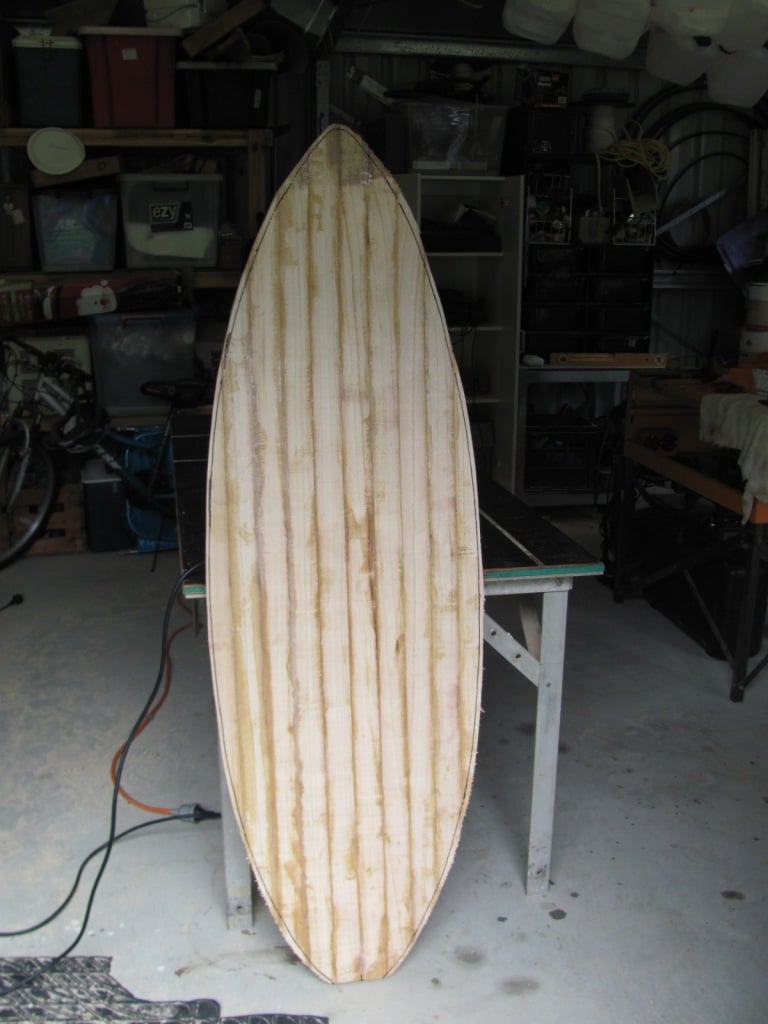
Draw the outline on the cured blank and cut it with a jigsaw. A skim shape around 1600 mm long and just under 500 mm wide is a sensible first target.
Plane the rails back to close to your finished dimensions, then belt sand the deck flat and blend it into the nose rocker.
Check symmetry by making a paper template of one side, folding it down the centreline, and trimming until both halves match.
Concave, rails and fins
A single concave on the base lifts the board and helps it plane early. Aim for roughly 7 mm deep at the middle, running nose to tail.
A random orbital sander gives a far cleaner concave than a drill sanding pad, which leaves circular scratches you will hand sand for hours.
Round the rails with a concave router bit for a soft feel, and keep the finished board close to 22 mm at its thickest point.
Copy fin placement from a skim board you already trust, and buy longer fin screws to allow for the extra timber thickness.
Sealing the finish
Sealing is where home builds most often disappoint, so slow down here.
Brushed polyurethane can peel like plastic wrap if the final coat is sanded too smooth for the next coat to key into.
Sand between coats, but leave the last coat with enough tooth for grip to bond, or hand the board to a professional for a proper glassed finish.
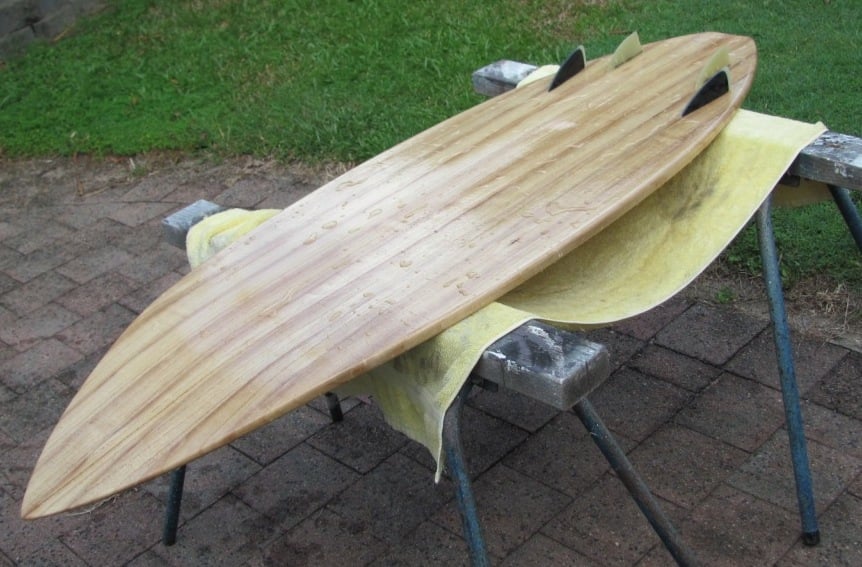
Add diamond deck grip or surf wax, then get it wet on the first breeze to feel how much lighter and livelier it is than a plywood board.
When you are itching to test it, watch the wind forecast and pick your day rather than launching into a windless afternoon.
Questions & Answers
Why Paulownia instead of plywood? Paulownia is much lighter and stiffer for its weight, so the board floats higher, planes faster and has a more connected, lively feel. Plywood boards work but ride heavy with slow rebound.
How do I get rocker without steaming timber? Draw the side profile with the nose sweep onto each plank and cut it out before gluing. The curved edges of the strips form the rocker when glued edge to edge, so no bending is needed.
What glue should I use? A marine two-part epoxy, typically mixed 2 to 1, made for boat building. It bonds Paulownia strongly and stays waterproof, unlike ordinary wood glue that will fail in the water.
What is the most common mistake? The finish. A clear coat sanded too smooth on the final pass will not key and can peel off in sheets. Leave tooth on the last coat, or have it professionally glassed.